

All Categories
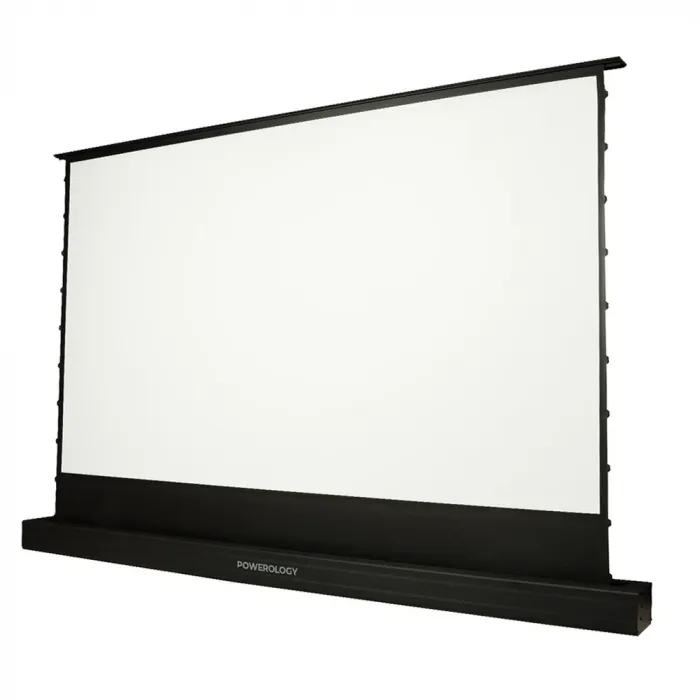
Powerology 100'motorised Projector Screen - White
KD299.000
0KIB
KIB instalment starting from KWD 6.23 /Month
Read More 

- Accept payments online
- 14-day money-back guarantee for products, if the package is not opened, according to the laws of the Ministry of Commerce.
- Free deliver all orders same day ( If the order placed before 8 pm )
- 24/7 Customer Support


Auto Leveling System
- The screen incorporates an automatic leveling system. As the
screen extends to its maximum height, it will automatically descend
by 5cm to maintain a flat surface. - The screen's cable pulling mechanism is composed of a specially
formulated material with optimal elasticity and durability, enabling
automatic adjustments in response to the tension along the screen's
black border.
Package Contents
- Projector Screen
- Power Cable
- Remote Controller
- Projector USB Link
Initial Setup
Adjust the screen’s height by following these steps:
Note: Do not perform this action unless it is necessary.
Raise the screen to the maximum height, long press the “Stop button” of the remote control for 5 seconds. The buzzer will emit a quick ring, indicating that the The buzzer will emit a quick ring, indicating that the factory-set upper limit has been successfully cleared.
After positioning the screen to the desired height, simultaneously press the “Stop button” and “Up button” of the remote controller at the same time. Subsequently the buzzer emits a ring that lasts for 1 second. Repeat the process, immediately. Afterwards the new height is set successfully
Turn on the projector and insert the USB connector into the projector's rear USB port.
Switch off the projector's screen for about 5 seconds, then turn it back on.
Press and hold the USB connector setting button for more than 5 seconds. Once the screen beeps, indicating successful pairing, unplug the USB and reconnect it to the projector's port. Turning off the projector will lower the screen, and turning it on will raise the screen.
Note: The screen is calibrated before leaving the factory. After receiving the product, please do not disassemble or recalibrate this product on your own.
Remote Controller Instructions
Up Button: Pressing this key will raise the screen to the pre-set height.
Stop Button: By pressing this button, the screen will halt at any chosen position.
Down Button: Pressing this button will cause the screen to automatically retract into its housing.
| Product Name | Powerology 100'motorised Projector Screen - White |
|---|---|
| Brand | POWEROLOGY |
| Warranty | 1 Year Warranty |
Write Your Own Review
Powerology 100'motorised Projector Screen - White best price from Alfuhod
Shop online Powerology 100'motorised Projector Screen - White and free same day delivery from Alfuhod in Kuwait.
Shop online Powerology 100'motorised Projector Screen - White and free same day delivery from Alfuhod in Kuwait.
New customer? Start Here.